Showing posts with label arts and craft. Show all posts

Wednesday, June 17, 2015

Scales and Spots, easy and effective fingerprint sensory artworks


 My daughter recently received a wonderful book called Finger Stemplen für kleine Künstler, which translated means finger stamping for the little artist. As you can see the how-to book came with a great set of ink pads so we could try it out straightaway.


 Having opened it, my daughter and I sat together and had a look through the book to see which of the examples we would like to try ourselves. It quickly became quite clear to me that the book's ideas were probably a little too advanced for my child to do without a lot of help from an adult. I didn't let that stop us though. This had the potential of being a really great sensory art experience.

 
I started thinking about what fingerprints can look like and I realised they could easily be spots or scales on animals. This lead to a lovely brows through Google images looking at pictures of animals with scales and spots. For scales we found dinosaurs, fish, dragons, lizards and snakes. For spots we found cheetahs, giraffes, leopards and Dalmatians.

At first my little one started drawing her own dragon. See photo below. She used fingerprints for the eyes and then started to fill its belly with green fingerprints for the scales.


When it came to fish, she asked mummy to draw some for her. I drew some simple fish with bubbles which she once again filled with fingerprints to create their scales. This was very effective when she used more than one colour. The little monkey also decided to put fingerprints in all the air bubbles which was a nice touch.


Here are some photos of other artworks that we finished.

I think these would make really nice personalised cards for Mother's Day or Father's Day. To have your child's fingerprint immortalised in a beautiful artwork like this I think makes for a beautiful gift and all you would have to do is frame it. Like the giraffe picture above, you can have a mama and baby animal standing together or a papa and baby. Below is something I played around with in Photoshop to see what a Father's Day card may look like.


You don't have to make it in Photoshop, you could easily cut it out and glue it to some beautiful card. There are available already pre-cut and pressed cards you can buy from craft stores. Some have a window on the front of the card which you could stick the artwork behind.

Such a simple sensory art project, yet so effective that any child of any age can create a masterpiece within minutes! If you don't feel comfortable drawing the animals yourself just print out some colouring pages from the web! I hope you get to try it.

P.S do have some wipes ready on the side, it can get messy!

Until next time, happy printing and happy playing.

Monday, June 1, 2015

Indoor fairy garden small world play

As you might know we here at We are Happy Playing are totally in love with all things fairy. We turned our reading corner into an enchanted fairy inspired reading nook (here). We've also made an indoor fairy garden for my daughter's bedroom (here), and had lots of fun making paper mache fairy houses (here). Today I have chosen to write about our fairy garden small world play that my daughter has been enjoying over the last few months.

For our indoor fairy garden small world we used
  • 1 Tray half full with play sand. 
  • A range of plastic flowers
  • assorted craft shells
  • blue pebbles
  • Plastic deco stones
  • twigs from outside
  • blue foam board cut in pond and river shapes
  • tiny cocktail drink umbrellas 
  • coins
  • wooden animal figures on sticks
  • pieces of twirled bark
  • coloured potpourri sticks
  • some odds and ends like mini clay pots and ceramic deco flowers
  • little handmade fairies 
  • Kinder Surprise plastic gnomes
  • small pine cones


The play session began with my daughter building the fairy garden. Unlike most small world play, our fairy garden small world play allows the child to be responsible for setting up the small world's landscape. With this 'game' it is the adult's responsibility to simply supply the child with as many different 'fairy' things to build their garden with and to sit back and watch.

At the beginning of her first fairy garden small world play session my daughter started by establishing where the water features and rocks would go.


Once the ponds, rivers and paths were in place she started adding her fairy house, ornaments like ceramic posts, wooden fence.


After this stage was finished, the little monkey decided it was time to hide 'treasure' for the fairies to search for later. For this my daughter used some coins I had given her. She buried them around the place in 'secret hiding places'. 


Finally finishing touches were addded such as the umbrellas, little animals, fairies and flowers. 


Once the garden was finished my daughter continued to play with her enchanted play set, playing out scenarios where the fairies went searching for treasure, or where they needed to find their way home through the flower forest or where the fairies simply played with the little animals sunbathing all together under the 'beach' umbrellas.  

The garden itself also evolved over the course of the play sessions as my little one continued to arrange and rearrange the flowers and rocks etc. By the time the play session was finished most of the flowers had been removed and replaced by ditches in the sand where the fairies had dug for treasure. The animals too were set to one side and the stones were rearranged to make different paths leading to the lakes. 

All in all I couldn't be more happy with the outcome. The fairy garden small world had required my daughter to use her imagination to the limit. Nothing was fixed, the play possibilities almost endless. It didn't even matter if my daughter played with the fairies at the end, for it was a great enough effort just to build the landscape in the first place. 

I hope this post has given you some ideas for your own fairy garden small world play. Maybe you could make a winter version? If you do send us some photos and leave a comment below. 

Until next time, happy playing.

Thursday, April 30, 2015

DIY Paper mache fairy house tutorial

It is no secret that at the moment I have become somewhat of a fairy freak! I am obsessed with fairy gardens, fairy accessories and now fairy houses!

Desperate for more 'fairy stuff' for my daughter's fairy themed reading corner I scrounged around the house the other day looking for odds and ends from which I could make a fairy house. I also went online and searched YouTube for some inspiration. What I found was a great fairy house tutorial which used a lot of fancy scrap booking tools and materials (which I don't have and will not fork out the money for) but the best part of the tutorial was that it used some paper mache to give the house texture. And this is the part that gave me an idea!

What if I took the few toilet rolls, some corrugated paper, badminton shuttle cocks and tissue paper I found around the house and used paper mache to bring it all together into a neat little fairy house? Well needless to say the idea worked! And for all of you out there who are also crazy for fairy stuff the following is the tutorial for how to make one of these little guys. Enjoy.


What you will need 
  • Toilet paper roll
  • corrugated paper
  • tissue paper 
  • plastic shuttlecock (not the ones with feathers)
  • Poster paints
  • Primer or white undercoat paint
  • Paint brushes of varying sizes
  • PVA craft glue
  • Wall paper glue mix or just diluted PVA craft glue for paper mache
  • Scissors
  • Yarn scraps
  • Optional hot glue gun
  • Varnish 

First, cut a piece of corrugated paper that fits around your toilet roll. You can make it exactly to the height of your roll or leave it longer like I did for a taller house. Once you have done that, using PVA craft glue, glue the corrugated paper to the toilet roll.


To add features like windows and doors, cut a few pieces of yarn and using PVA again, glue the string to the house to form the outline of the windows and door. You can make them whatever shape you want. As you can see, I have gone for porthole like windows and an arch door.  At this point let the glue dry.


Next cut up your tissue paper into smallish pieces and get some wall paper glue mix, like I have, or some diluted PVA glue ready.  Wet the pieces of paper with glue and using a brush press the pieces over the yarn so that it gets into the grooves. Cover the whole house with tissue paper in this manner leaving your features to still stand out.

Sorry for the horrid photo below, I only had green tissue paper and the colour has run. But trust me it's tissue paper not paint!See how I use the brush to push the tissue paper into the grooves?


Once you have done that give it a good 2 coats of undercoat or primer. I used old wall paint primer. The photo here shows you where I used the hot glue gun to put in some finer details around the door and the crosses in the windows. This is optional and you can just paint the features in later if you don't have a hot glue gun.


Get your shuttle cock now and paper mache about 3 to 4 layers of paper over the whole thing until you feel it is thick and stable enough. Once finished let it dry a bit and then coat it with 2 coats of primer.


Once the whole thing is dry, glue both pieces together like so, using PVA or the hot glue gun. The roof should fit snug over the main house.


Once the primer is dry it is ready to paint. First decide on your main colours and paint the different sections using the base colour.. Once you have done that, start adding some darker and lighter versions of the same colour to create shadows and depth. Using black and a thin brush outline features like windows and the door and I like to paint the bottom of the roof too with black strokes to give it some form. Use some while to highlight the texture of the corrugated cardboard and to add white spots to the roof. Using several shades of green dab paint with a small brush to give the effect of greenery or moss.


Once the the whole thing is painted and you are happy with it, let it dry. Once dry, give it a coat of clear varnish for protection and to make the colours really pop and shine.


Again let the whole thing dry really well and when it has it is FINISHED, ready to bring magic and enchantment into your home. I do not recommend this little fairy house for outdoors. If you are putting it in an indoor fairy garden I would be careful not to get the bottom dirty with dirt as it might rot the paper. Otherwise it should be fine on gravel and sand that is not wet. But then again if you are very careful to paint under the bottom with two coats of varnish I guess a little dirt and moisture won't hurt it.

Anyhow I hope this tutorial has been helpful , easy to follow and inspiring. Please leave a comment and let me know if you end up making one or many. I would love to know how you go.

Happy fairy house making and happy playing.

Wednesday, April 29, 2015

Fairy Gardens, a place where children can daydream


It seems that with spring truly here and summer just around the corner, fairy gardens are becoming a popular topic on children's play blogs and Facebook play groups. If you look online you will find a multitude of inspiring photos of beautifully crafted fairy gardens with all the little fairy garden furniture trimmings. It's really hard not to be inspired! Who wouldn't want a magical, whimsical fairy land in their own backyard? Something to admire and to inspire fairy daydreams. A living, growing wonderland.

For me, fairy gardens are more than just a whimsical addition to the garden, they are a great way to get children into gardening and an even better way to teach children responsibility for another living thing without having the trouble of a pet. No fairy garden thrives without being watered, fed, and given enough sunlight. Thus the child must remember to water and fertilize their little paradise appropriately and make sure it stays in a spot with enough sunlight depending on what type of plants are in it. I guess they also learn to look without toughing as fairy gardens are great to look at but not something you play with.


For our fairy garden we decided on an indoor version. Our local hardware and garden store has hundreds of indoor plants and there is a specific section with these tiny little plants for around 1€.

For the base of our garden we bought a plastic terracotta planter and base which we drilled holes in the bottom of for drainage. Very important! My daughter was given the honour of filling the garden with potting mix and compost and then planting the little flowers and greenery. For those of you who are wondering, the flowers are miniature African Violets, great indoor plants!


After planting the garden, my daughter topped the garden with some rocks from our driveway. This will make it look nice and neat and keep the soil moist.
Here is the finished garden at this stage, all ready now for wonderful fairy accessories!


Now with accessories, you might say we went a little overboard. It all started with some simple little wooden animals I'd painted for Christmas tree decorations. Hot glue and a toothpick on the back and I was able to stick them into the soil so they would stand upright. With some blue rocks, bought from the 1€ shop, we made a river. The fairy house is made from gluing little sticks over a toilet roll and then using some felt and coloured paper to create the roof and door. The windows are foam flowers and the roof is embellished with a little wooden ladybug, plastic leaves and flower. Pretty ribbon is also stuck in place around the base just to make it all the more pretty.


The clothes line is made from two sticksand a bit of sewing thread tied between them and then a little dress which I cut out of felt, hung with little pegs I got from the craft store. The fairy, herself, is made from a wooden peg by attaching some wool with glue for hair, drawing the face on with markers and then gluing some felt pieces to form the dress. The wings are from an old butterfly ornament. A few more wooden ladybugs and viola it's finally finished.

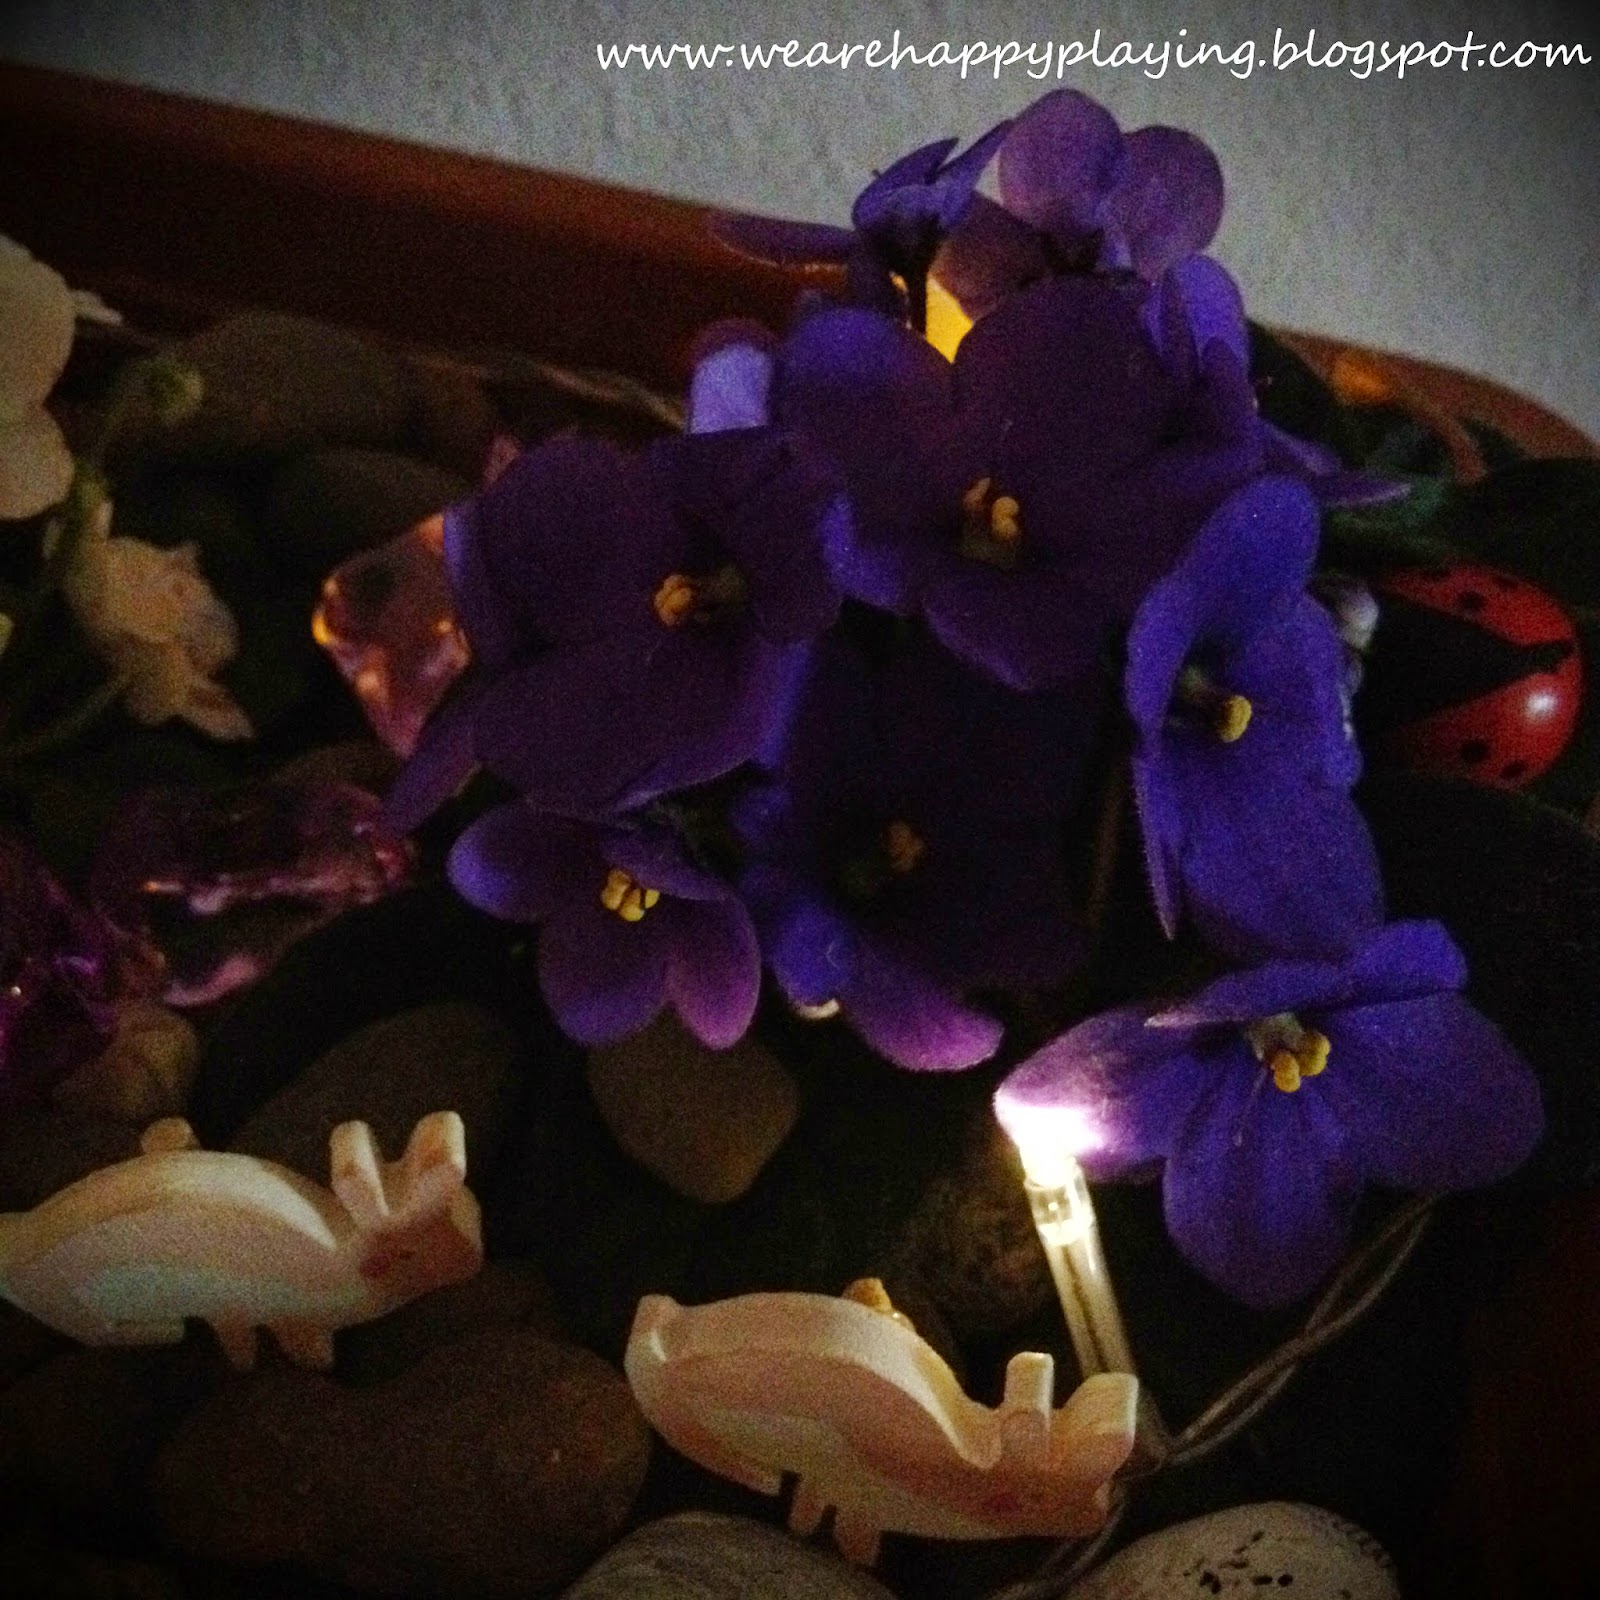
In the evening we also experimented with some lighting. We tried the fairy lights and LED tea candles behind the plants to give it a dramatic look. The results were not too bad but I would like to continue to work on it to get the look just right. I am going to ask my husband if he can wire something up that will let us stick tiny LED lights in strategic places rather than on a cord like the fairy lights. The cord is just too hard to hide.


So there it is, our very own magical indoor fairy garden. My daughter loves looking at it and swoons over it, sighing and whispering "oh it's so cute!" She's tried to play with the bits and pieces but I remind her not to touch it, that it's just for looking and she seems to be OK with that. (I plan on making a playable version soon) My daughter has also started telling me that the fairies come at night when she is sleeping to look after her when she sleeps. It's so wonderful too see that her imagination has been sparked by such a simple addition to her bedroom.

Hope you have been inspired to make your own garden. They really are a lot of fun and quite addictive. I'm already buying bits and pieces for one in my bedroom. If you make one I'd love to hear about it in the comment section. Maybe even share some photos.

Until next time happy playing


Wednesday, April 22, 2015

Free Aided Language Displays for stamp art activity

Looking at my blog stats I can see that the DIY foam stamps and ink pad post has been a popular idea/activity. (See here for post) For this reason I have decided to give you all a free Aided Language Display (ALD) to use when making art with stamps.

If you are not familiar with what an ALD is, and how to use it, please read my post on Aided Language Displays here. Basically they are a communication tool that is based on picture communication symbols which a child with limited or no language can use to communicate simple ideas for any given topic or activity. I have used them extensively when teaching students with special needs.


In order to make one for yourself just click on the picture below, save and print! As mentioned in the other post I do recommend you laminate it before use so it doesn't get damaged. Trust me this is very likely!


I designed it so children can comment about how they think their art looks using beautiful or yucky. They can also request the tools they need to complete the activity, ink pad, paper, stamps. I thought it was good to include 'turn' as well as sometimes children want their play partners to take a turn adding to their art. I know my child does! Stamp art can also get messy, messy tables, messy hands so I've added cells where children can ask to clean their hands or comment that something is messy or dirty. Push has been added there as a child might ask for help to push or press the stamp. They might want to tell you that they want to press the stamp. And with the 'different' cell they can of course request a different stamp or colour. 'Finished' gives the child the opportunity to say they've had enough which I think is important. 

What I thought might also be useful for this activity is another ALD with just colours and shapes. Just click on the picture, save, print and laminate. You can use this for this activity so children can choose colours. If your stamps are of shapes then they can also make comments about the shapes they'd like. Of course this is a useful ALD for any art project or where you are working with colours and shapes. For example you might be building with Lego and want your child to communicate what colour block they want.

Note- These ALD's are my own work. While I obviously don't mind people using them for personal use, in under no circumstances are they to be used for commercial gain. If you would like to share these with other people please do not copy and paste them on another blog, website etc. but rather link back to the posts here at We are Happy Playing.

Please if you are using these ALD's let me know how you go in the comment section below. I would love to know if they are of any help and if you think something should be changed or added.

Happy playing!

Thursday, April 16, 2015

DIY foam stamps and ink pad

Shh don't tell the hubby but I was at it again, yes I went dollar shop shopping! I love going there for play supplies. Every time I go I end up with so many new ideas and the best part at the end of the day is that I have a bag full of goodies for about  5 Euros. Well I guess we could say hubby is lucky too, oh and my daughter since she gets to play with it all.

Today's awesome find were these animal foam shapes with a sticky side! I can't remember where exactly but a while ago I came across a photo of some stamps a mother had made using old wooden blocks and bits of foam, sticks and other bits and pieces. Looking at the bag of foam pieces I bought made me think that I too could make some stamps using the foam bits and wooden blocks. Once the stamps were finished with I could always take the sticky foam off and return the blocks to their original use.  It's  truly a 1 minute DIY toy you can make almost with your eyes shut!

 In order to make it simply get some of these sticky foam shapes, round up a hand full of wooden blocks and stick the foam pieces on them. And to think I was seriously thinking of dishing out around 30 Euros for a stamp set. More like 99 cents now! 


I decided I wasn't going to spend the money on ink pads so I made an 'ink pad' from an old kitchen cloth. To make one it is important to wet the cloth, wring it out so it's still a bit wet but not dripping and then put some paint on it, spreading the paint around with a brush so it is absorbed by the cloth. If you dip the stamps into paint without doing this you just end up with sloppy blobby prints.As you can see we've mixed things up by using some other kids' stamps we already had.

Here's a preview of one of the artworks made.


My little monkey decided to add some details with textas once the prints were dry. Here she is putting eyes on all the froggies and ducks.You can't see it in this photo but later she also drew in a pond for the animals to swim in.


One of the things I like about using stamps to make artworks is that it means children of all ages and abilities can make art that is successful and effective. When I was working at a special developmental school with students who had poor fine motor skills and could not use pencils or paint brushes I would always bring out some stamps so they could feel like they were able to achieve something other than a canvas of smeered paint. You might have to first demonstrate how it's done by using a hand over hand technique but even young children get the hand of it quickly. 


Anyway have a wonderful day and let me know if you give this idea a go. 
Happy playing!