Showing posts with label foam shapes. Show all posts

Wednesday, April 29, 2015

Fairy Gardens, a place where children can daydream


It seems that with spring truly here and summer just around the corner, fairy gardens are becoming a popular topic on children's play blogs and Facebook play groups. If you look online you will find a multitude of inspiring photos of beautifully crafted fairy gardens with all the little fairy garden furniture trimmings. It's really hard not to be inspired! Who wouldn't want a magical, whimsical fairy land in their own backyard? Something to admire and to inspire fairy daydreams. A living, growing wonderland.

For me, fairy gardens are more than just a whimsical addition to the garden, they are a great way to get children into gardening and an even better way to teach children responsibility for another living thing without having the trouble of a pet. No fairy garden thrives without being watered, fed, and given enough sunlight. Thus the child must remember to water and fertilize their little paradise appropriately and make sure it stays in a spot with enough sunlight depending on what type of plants are in it. I guess they also learn to look without toughing as fairy gardens are great to look at but not something you play with.


For our fairy garden we decided on an indoor version. Our local hardware and garden store has hundreds of indoor plants and there is a specific section with these tiny little plants for around 1€.

For the base of our garden we bought a plastic terracotta planter and base which we drilled holes in the bottom of for drainage. Very important! My daughter was given the honour of filling the garden with potting mix and compost and then planting the little flowers and greenery. For those of you who are wondering, the flowers are miniature African Violets, great indoor plants!


After planting the garden, my daughter topped the garden with some rocks from our driveway. This will make it look nice and neat and keep the soil moist.
Here is the finished garden at this stage, all ready now for wonderful fairy accessories!


Now with accessories, you might say we went a little overboard. It all started with some simple little wooden animals I'd painted for Christmas tree decorations. Hot glue and a toothpick on the back and I was able to stick them into the soil so they would stand upright. With some blue rocks, bought from the 1€ shop, we made a river. The fairy house is made from gluing little sticks over a toilet roll and then using some felt and coloured paper to create the roof and door. The windows are foam flowers and the roof is embellished with a little wooden ladybug, plastic leaves and flower. Pretty ribbon is also stuck in place around the base just to make it all the more pretty.


The clothes line is made from two sticksand a bit of sewing thread tied between them and then a little dress which I cut out of felt, hung with little pegs I got from the craft store. The fairy, herself, is made from a wooden peg by attaching some wool with glue for hair, drawing the face on with markers and then gluing some felt pieces to form the dress. The wings are from an old butterfly ornament. A few more wooden ladybugs and viola it's finally finished.

In the evening we also experimented with some lighting. We tried the fairy lights and LED tea candles behind the plants to give it a dramatic look. The results were not too bad but I would like to continue to work on it to get the look just right. I am going to ask my husband if he can wire something up that will let us stick tiny LED lights in strategic places rather than on a cord like the fairy lights. The cord is just too hard to hide.
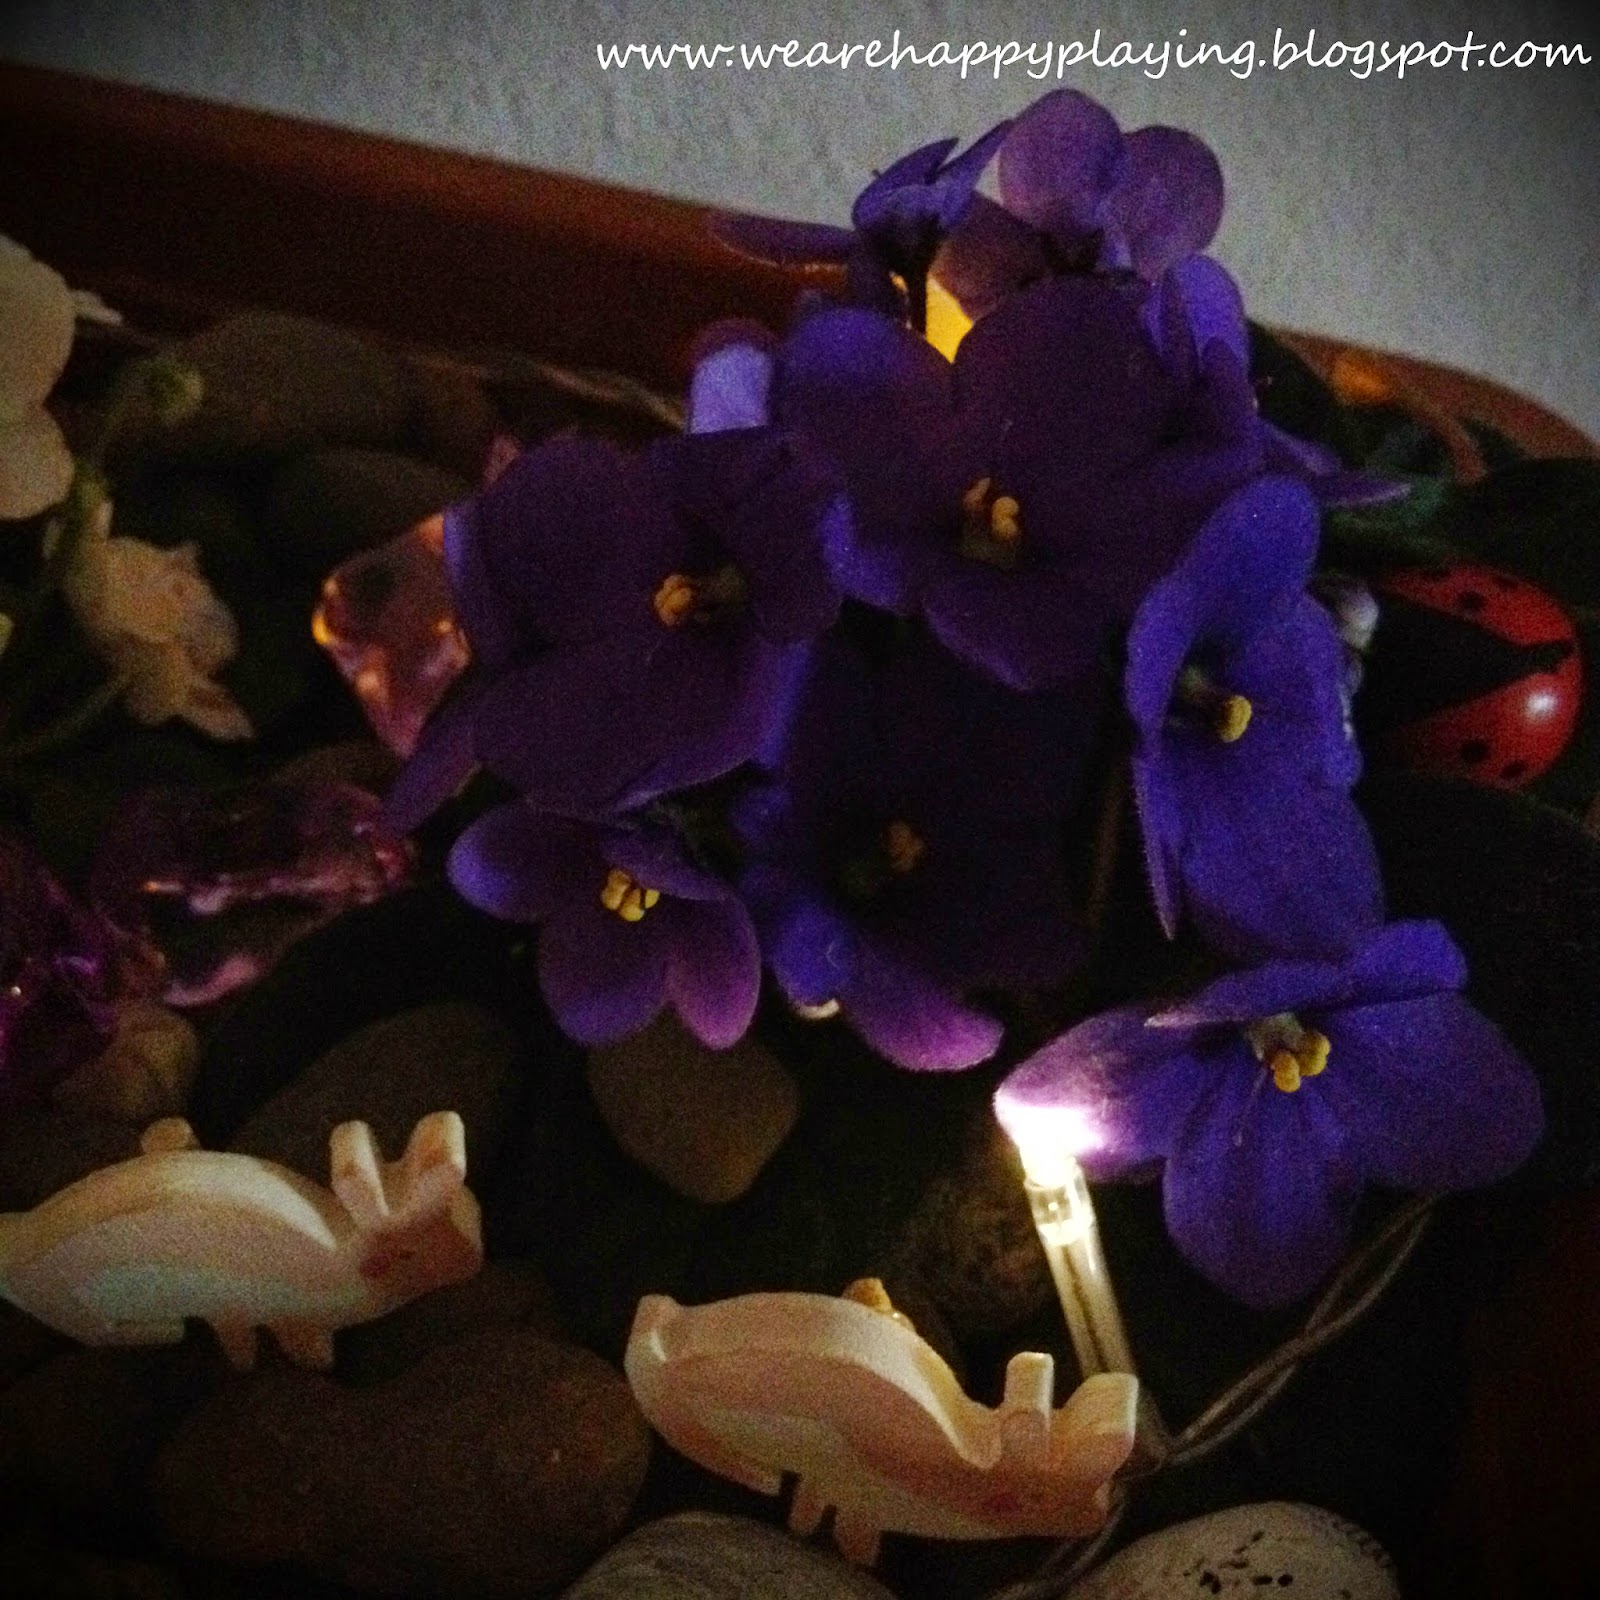


So there it is, our very own magical indoor fairy garden. My daughter loves looking at it and swoons over it, sighing and whispering "oh it's so cute!" She's tried to play with the bits and pieces but I remind her not to touch it, that it's just for looking and she seems to be OK with that. (I plan on making a playable version soon) My daughter has also started telling me that the fairies come at night when she is sleeping to look after her when she sleeps. It's so wonderful too see that her imagination has been sparked by such a simple addition to her bedroom.

Hope you have been inspired to make your own garden. They really are a lot of fun and quite addictive. I'm already buying bits and pieces for one in my bedroom. If you make one I'd love to hear about it in the comment section. Maybe even share some photos.

Until next time happy playing


Wednesday, April 22, 2015

Free Aided Language Displays for stamp art activity

Looking at my blog stats I can see that the DIY foam stamps and ink pad post has been a popular idea/activity. (See here for post) For this reason I have decided to give you all a free Aided Language Display (ALD) to use when making art with stamps.

If you are not familiar with what an ALD is, and how to use it, please read my post on Aided Language Displays here. Basically they are a communication tool that is based on picture communication symbols which a child with limited or no language can use to communicate simple ideas for any given topic or activity. I have used them extensively when teaching students with special needs.


In order to make one for yourself just click on the picture below, save and print! As mentioned in the other post I do recommend you laminate it before use so it doesn't get damaged. Trust me this is very likely!


I designed it so children can comment about how they think their art looks using beautiful or yucky. They can also request the tools they need to complete the activity, ink pad, paper, stamps. I thought it was good to include 'turn' as well as sometimes children want their play partners to take a turn adding to their art. I know my child does! Stamp art can also get messy, messy tables, messy hands so I've added cells where children can ask to clean their hands or comment that something is messy or dirty. Push has been added there as a child might ask for help to push or press the stamp. They might want to tell you that they want to press the stamp. And with the 'different' cell they can of course request a different stamp or colour. 'Finished' gives the child the opportunity to say they've had enough which I think is important. 

What I thought might also be useful for this activity is another ALD with just colours and shapes. Just click on the picture, save, print and laminate. You can use this for this activity so children can choose colours. If your stamps are of shapes then they can also make comments about the shapes they'd like. Of course this is a useful ALD for any art project or where you are working with colours and shapes. For example you might be building with Lego and want your child to communicate what colour block they want.

Note- These ALD's are my own work. While I obviously don't mind people using them for personal use, in under no circumstances are they to be used for commercial gain. If you would like to share these with other people please do not copy and paste them on another blog, website etc. but rather link back to the posts here at We are Happy Playing.

Please if you are using these ALD's let me know how you go in the comment section below. I would love to know if they are of any help and if you think something should be changed or added.

Happy playing!

Saturday, April 18, 2015

Water play threading, a sensory and fine motor skill experience

I am a sucker for browsing in those cheap dollar shops, always looking out for little bits and pieces I can use for play experiences. Today I was blessed with a real treasure of a find. The longest neon coloured straws I have ever seen. I
don't even know why they are manufactured because from a drinking straw perspective they are as useful as a waterproof teabag. I mean who keeps their drink a meter away when drinking? I guess you could have your drink on the floor and use the straw so you don't have to pick it up but really these straws were screaming for a repurpose! The other awesome find I found was foam beads! I can't believe they sell these. I bought a packet for 99 cents that were flower themed. 

I know there will be a hundred different ways I can turn these straws into a fun activity but last night they became the key piece (or pieces if you will) in a bath time game. That game was Water Play Threading and it kept my daughter busy and happy for a whole half an hour. It would have been longer if I wasn't concerned about the level of wrinkliness her hands and feet were sporting. For the activity I just cut up a few of the straws and gave my daughter a plastic stringy thing ( I'm not sure of the technical term) to use to thread them through. It became a lot more fun than normal threading because she had to sieve through the bubble bath foam to find pieces. Kind of like a treasure hunt game and threading all wrapped in one activity.

So that I can show you some photos of the activity ( I couldn't get any of her in the tub where her pink bits didn't show)  I set up the activity again in a tub for the play room. The little one enjoyed it just as much as she did in the bath which is great because sometimes you just want to play with water without having to shampoo your hair at the end!

As you can see in this photo, before I really foamed thing up with dish washing detergent, I just needed to add the foam beads, cut up straws and a plastic thread.

Note: bit of a bubble/foam hack- use a whisk to make bubbles and foam without having to splash about! So easy and quick!


This activity is more than just water play, it is also very good for developing fine motor skills while honing in on the sense of touch. You see the pieces are hardly visible when hidden in the bath foam so my daughter only has her sense of touch that she can use to find the pieces. You can also give your child pattern making charts that he/she can use to thread colour patterns making it also a numeracy experience.

I have to say using the plastic thread makes it much easier for younger kids to complete the activity too. Unlike regular string it is quite stiff and stays straight while a child threads things on. The wider circumference of the straws also makes it easy to thread. I highly recommend using these items for first time threaders!

If you are interested I'm developing a pirate and mermaid theme version of this activity so stay tuned!

Happy threading and happy playing.

P.S Thanks Papa for letting us girly you up a bit! 

Thursday, April 16, 2015

DIY foam stamps and ink pad

Shh don't tell the hubby but I was at it again, yes I went dollar shop shopping! I love going there for play supplies. Every time I go I end up with so many new ideas and the best part at the end of the day is that I have a bag full of goodies for about  5 Euros. Well I guess we could say hubby is lucky too, oh and my daughter since she gets to play with it all.

Today's awesome find were these animal foam shapes with a sticky side! I can't remember where exactly but a while ago I came across a photo of some stamps a mother had made using old wooden blocks and bits of foam, sticks and other bits and pieces. Looking at the bag of foam pieces I bought made me think that I too could make some stamps using the foam bits and wooden blocks. Once the stamps were finished with I could always take the sticky foam off and return the blocks to their original use.  It's  truly a 1 minute DIY toy you can make almost with your eyes shut!

 In order to make it simply get some of these sticky foam shapes, round up a hand full of wooden blocks and stick the foam pieces on them. And to think I was seriously thinking of dishing out around 30 Euros for a stamp set. More like 99 cents now! 


I decided I wasn't going to spend the money on ink pads so I made an 'ink pad' from an old kitchen cloth. To make one it is important to wet the cloth, wring it out so it's still a bit wet but not dripping and then put some paint on it, spreading the paint around with a brush so it is absorbed by the cloth. If you dip the stamps into paint without doing this you just end up with sloppy blobby prints.As you can see we've mixed things up by using some other kids' stamps we already had.

Here's a preview of one of the artworks made.


My little monkey decided to add some details with textas once the prints were dry. Here she is putting eyes on all the froggies and ducks.You can't see it in this photo but later she also drew in a pond for the animals to swim in.


One of the things I like about using stamps to make artworks is that it means children of all ages and abilities can make art that is successful and effective. When I was working at a special developmental school with students who had poor fine motor skills and could not use pencils or paint brushes I would always bring out some stamps so they could feel like they were able to achieve something other than a canvas of smeered paint. You might have to first demonstrate how it's done by using a hand over hand technique but even young children get the hand of it quickly. 


Anyway have a wonderful day and let me know if you give this idea a go. 
Happy playing!